Add & Edit Pattern Object
Pattern objects need to be created in the Model Manager first, by picking up on the screen and generating the screenshot area on the screen as a pattern object.
Adding Pattern Objects
There are two modes of adding pattern objects, one is to select them directly on the screen and the other is to create them on a screenshot image in the Model Manager.
1. Create from screen
This method is selected directly on the screen and creates separate pattern objects.
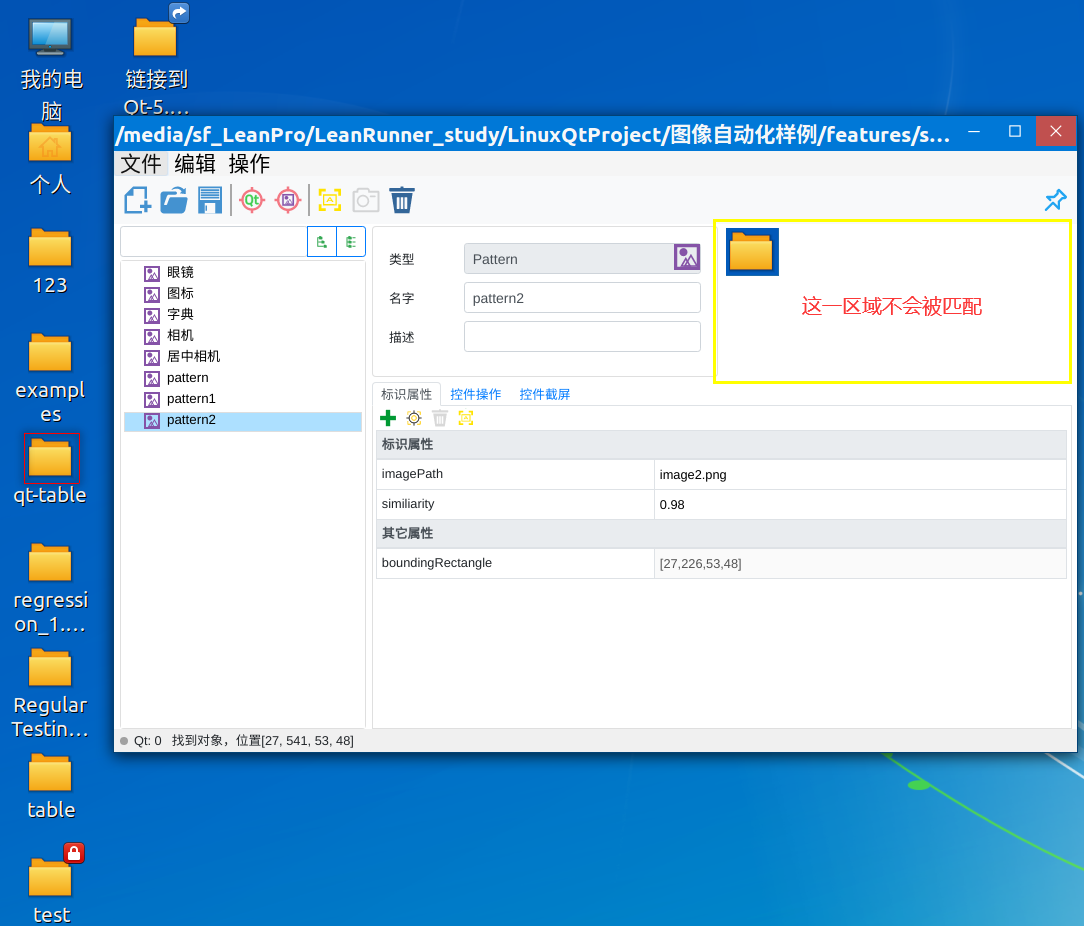
Open Model Manager and click Identify Pattern Object in the toolbar to enter the screenshot state. At this time, the area selected by dragging the mouse on the screen will be screenshotted, and at the same time, the screenshot frames the target area as a pattern object Pattern added to the model.
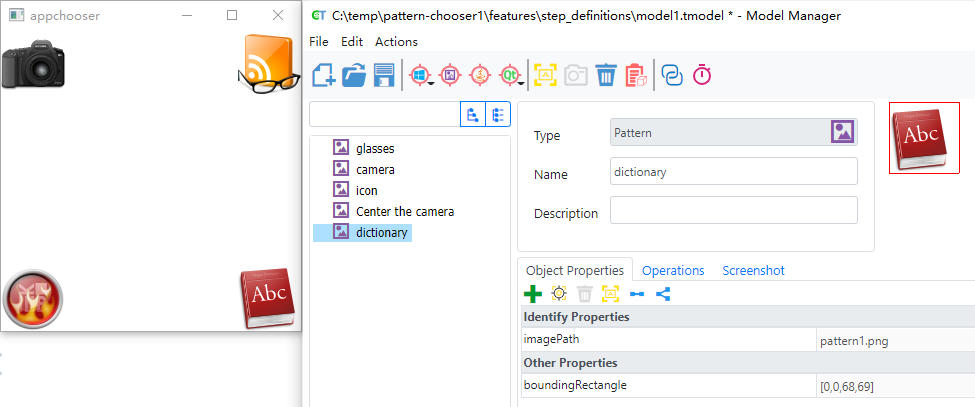
You can rename the default named pattern object to the name of the target.
2. Creating sub-pattern objects
In the Model Manager, pattern objects can exist as sub-objects of other objects. Creating sub-patterns can be created from object screenshots, so that you can use multiple recognition techniques to identify controls through object cascading and operate the desired interface precisely.
Let's use the drawing board (mspaint) that comes with Windows as an example.
As shown in the figure, if we use Windows Automation to identify the palette controls in the drawing board, we can only identify them as a whole, not to a particular paint control:.
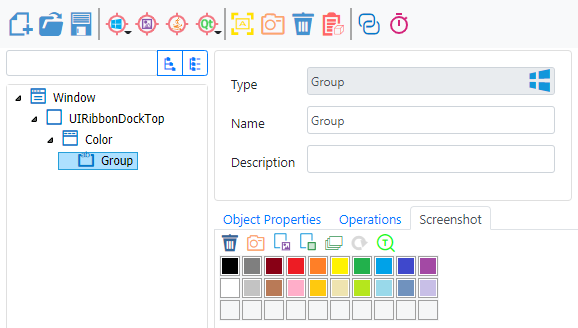
We can then create pattern controls under the palette object to further identify the color buttons within it:
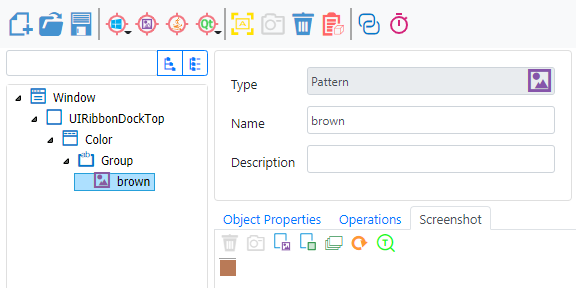
- Click the "Create Subpattern" on the "Control Screenshot" tab! button on the "Control Screenshot" tab to enter the sub-pattern creation mode.
Drag and drop an area on a color block, such as brown, to generate a pattern control for the image in that area, and name the sub-pattern object, such as "brown".

- When the OK button is clicked, sub-pattern objects are generated under the palette object.
The matching of sub-pattern objects will be done in a similar way as for other cascading objects. For the above scenario, Windows Automation will be used to locate the palette control first, and then the operation will be executed in the area of the palette control after locating the appropriate area using Image Automation.
This approach simultaneously utilizes object recognition technology to narrow the localization area, reduce interference, and improve the accuracy and speed of image matching.
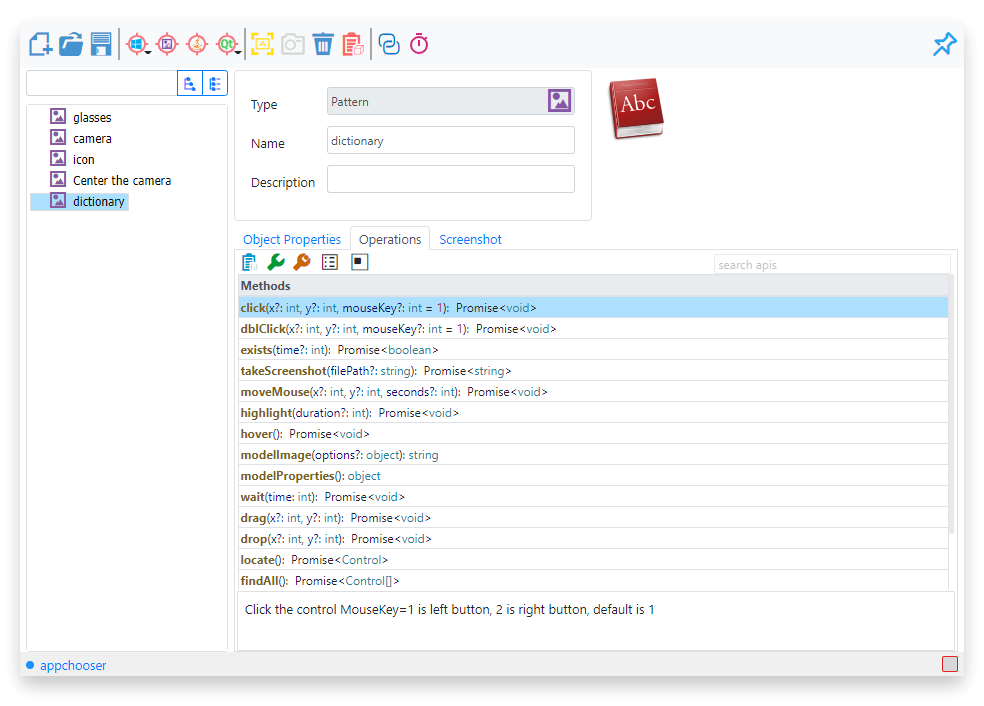
Operation Pattern Object
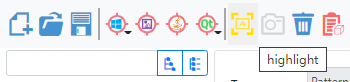
Highlight
Use the Highlight button on the toolbar to highlight the results matched to the pattern object (by default the one with the highest similarity is highlighted).
Highlighting and operations on pattern objects do not target the preview screenshot of the object inside the Model Manager.
Adjustment of matching parameters
Due to the nature of image recognition, it is occasionally necessary to modify the accuracy of recognition, either by increasing the need for similarity to reduce false recognition; or by decreasing the need for similarity to improve fault tolerance.
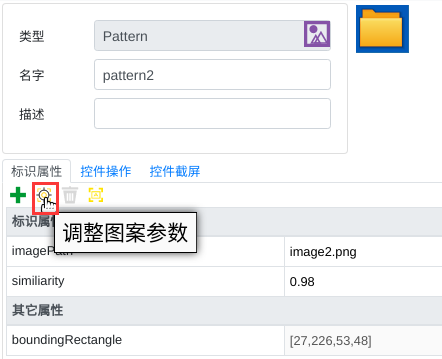
Click the Adjust Pattern Parameters button in the property bar of the Pattern object in the above figure to enter the adjustment interface, the following figure is the adjustment panel on the interface, you can set the values of similarity and scaleFactor by dragging and dropping on it, or you can enter the settings by text input. For more detailed settings of these parameters, refer to Identification Properties of Pattern Objects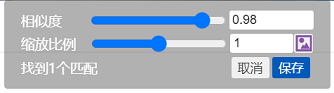
Modify the similarity threshold in the top adjustment panel, where it will match and highlight all the results that meet the criteria, which gives a more comprehensive view of the matches compared to the toolbar's highlighting which only highlights the most similar one.
Tips for selecting patterns
Knowing a few tricks when selecting and setting up pattern objects helps pattern automation develop efficiently and run robustly.
- Select as small an area as possible that contains valid content. If you want to match an icon in a blank area, you should select only this icon area and do not include other blank areas.
- After adding a pattern to the model, you can confirm that you can and only can match the target pattern by highlighting or adjusting the interface of the pattern parameters, and not include other unwanted interfaces.
- Use cascading when there are other object recognition techniques that can narrow the positioning range, so that the pattern control becomes a child of other control objects. For more details, please refer to [Cascading of Objects].
Debugging method
See the pattern object operation methods provided by CukeTest in the Operation Methods tab of the properties bar of the Pattern object, and click Debug to run the selected method.