Installation
Playwright Test was created specifically to accommodate the needs of end-to-end testing. Playwright supports all modern rendering engines including Chromium, WebKit, and Firefox. Test on Windows, Linux, and macOS, locally or on CI, headless or headed with native mobile emulation of Google Chrome for Android and Mobile Safari.
You will learn
- How to install Playwright
- What's Installed
- How to run the example test
- How to open the HTML test report
Installing Playwright
Get started by installing Playwright using npm or yarn. Alternatively you can also get started and run your tests using the VS Code Extension.
- npm
- yarn
- pnpm
npm init playwright@latest
yarn create playwright
pnpm dlx create-playwright
Run the install command and select the following to get started:
- Choose between TypeScript or JavaScript (default is TypeScript)
- Name of your Tests folder (default is tests or e2e if you already have a tests folder in your project)
- Add a GitHub Actions workflow to easily run tests on CI
What's Installed
Playwright will download the browsers needed as well as create the following files.
playwright.config.ts
package.json
package-lock.json
tests/
  example.spec.ts
tests-examples/
  demo-todo-app.spec.ts
The playwright.config is where you can add configuration for Playwright including modifying which browsers you would like to run Playwright on. If you are running tests inside an already existing project then dependencies will be added directly to your package.json.
The tests folder contains a basic example test to help you get started with testing. For a more detailed example check out the tests-examples folder which contains tests written to test a todo app.
Running the Example Test
By default tests will be run on all 3 browsers, chromium, firefox and webkit using 3 workers. This can be configured in the playwright.config file. Tests are run in headless mode meaning no browser will open up when running the tests. Results of the tests and test logs will be shown in the terminal.
npx playwright test
See our doc on Running Tests to learn more about running tests in headed mode, running multiple tests, running specific tests etc.
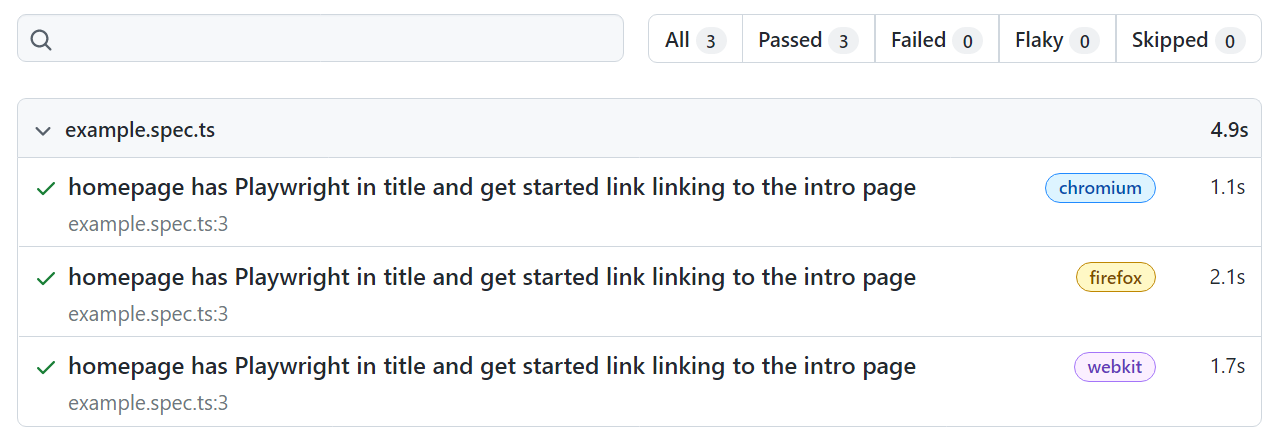
HTML Test Reports
Once your test has finished running a HTML Reporter will have been created which shows you a full report of your tests allowing you to filter the report by browsers, passed tests, failed tests, skipped tests and flaky tests. You can click on each test and explore the test's errors as well as each step of the test. By default, the HTML report is opened automatically if some of the tests failed.
npx playwright show-report